how to paint a Baltimore window screen
By Anna Pasqualucci, Screen Painter
Oct 7, "Nights in Rodanthe"
.... and a day at the beach painting lesson open to the public.
Exact time and venue to be announced. 4-hour screen painting class. All supplies will be provided. Pre-registration is recommended. $40 pp.
Tentative location will be at the RWCS http://www.rwscivic.org/
EMAIL Anna for details at AnnaPasqualucci@gmail.com
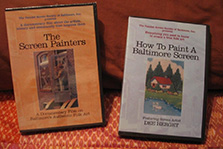
Buy Dee Herget's DVD to learn How to Paint a Baltimore Screen from Anna's Painted Screens. Proceeds support the Painted Screen Society.org.
Scroll down for DIY instructions to paint your window screens at your kitchen table without having to purchase costly materials.
CLASSES and WORKSHOPS
Paint the town with Anna!
Please contact Anna Pasqualucci to arrange
a special one-day workshop for your community organization or a private lesson.
.jpg?timestamp=1349506102340)
Screen Painting Instructors
Contact individual painters or visit The Painted Screen Society of Baltimore for class information.
Anna Pasqualucci teaches at AACPS art magnet schools, the Chesapeake Art Center, various community associations, & the Maryland Traditions Folklife Festival.
Instructors Anna Lipka and Tom Lipka teach at various locations: the Hatton Senior Center 2825 Fait Ave Baltimore, MD 21224, 410-396-9025, at Essex Community College on Rosssville Blvd 410-780-6925, at the Farm Museum in Westminster, and more.
Instructor Pat Michalski, Wednesdays at A.C.Moore Arts & Crafts Store, Glen Burnie, every Wed, 9:30AM to 12 noon, throughout the year and at The Chesapeake Arts Center; & at the Pascal Senior Center, Glen Burnie.
John Iampieri, Artist in Residence, teaches in various schools throughout the year.
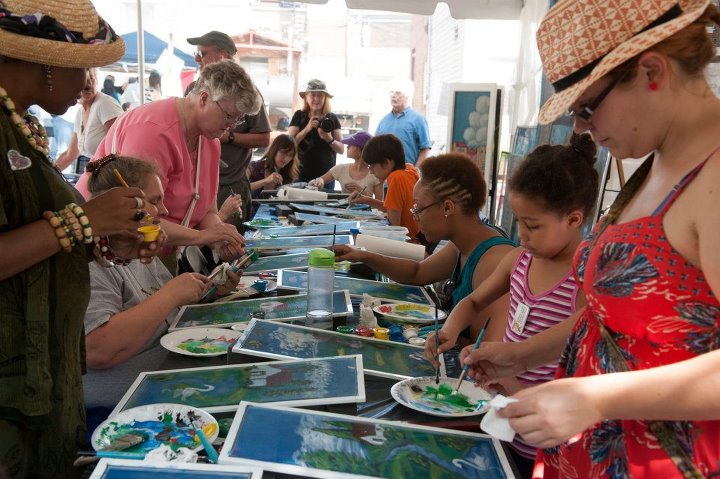
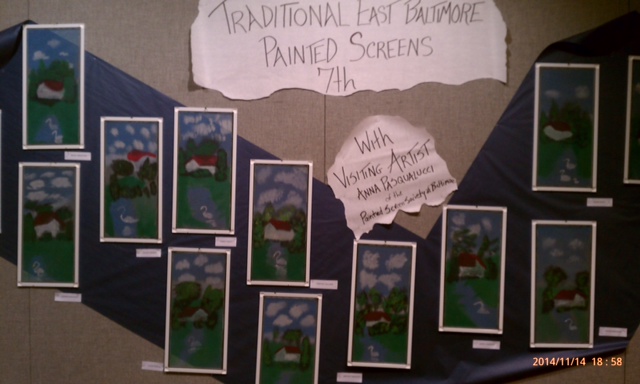
Folk art is passed down from one generation to the next.
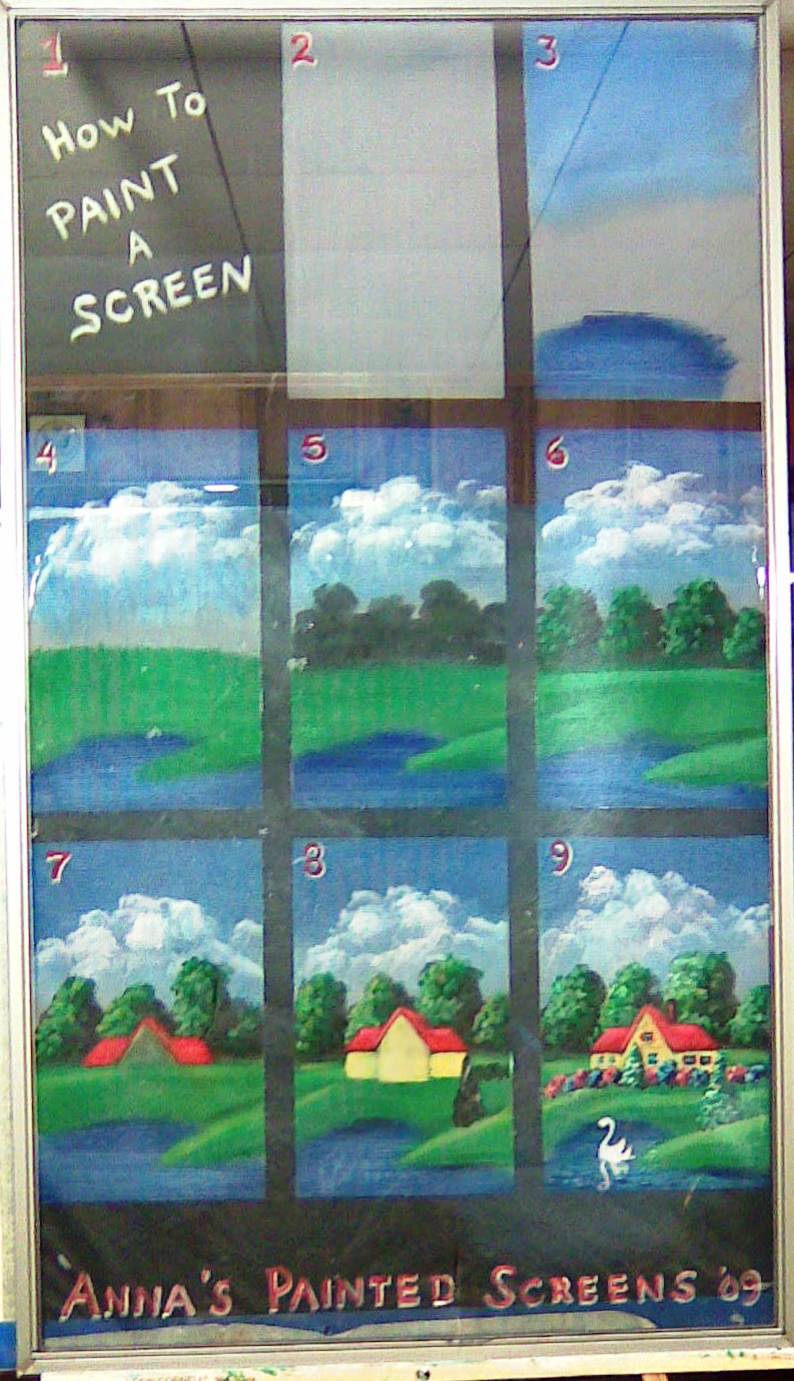
Prime (2), paint the blues and the distance first (3-6), paint details and foreground last (7-9), clear coat protect.
The Screen
- Determine which window(s) you want to display your painted screen.
- The screen should be in fairly good condition without holes or tears.
- Screens may be either Metal or Fiberglass. You can even use heavy duty pet-resistant screen. Avoid black anodized aluminum/metal screens as the paint may not adhere well to the treated wire.
- Re-screen if necessary. See your local hardware store for assistance.
My local hardware store, Bruce's Suppy Co., does a wonderful job replacing screens and offers loads of home repair products and services. See ad below.
The Design
4. Find your design idea from a photo or your imagination. Google Images are a great resource.
- Mix and match picture components for your unique idea
- Think of ways to personalize your screen
Prepare the screen
- Clean the screen with hose and brush and let air dry.
- Determine the orientation of the screen’s top and outside.
- You will be painting the outside of the screen.
- Masking tape the frame so paint won’t get on the frame, if it matters to you.
The paint
- Start out with Acrylic tube paint for easy clean-up and mixing… a little goes a long way.
- Once you've had some practice, try water based exterior latex or latex/acrylic enamel for better durability in outdoor environments.
- Buy primary colors (red, blue, yellow) and black and white. It’s nice to also have green and brown. You can mix any colors you want from these.
The work area
- Cover a table with an old shower curtain or vinyl tablecloth.
- Use a corner of the vinyl cover as your palette to mix your colors.
- Tape a black trash bag over the vinyl cover to set your screen on.
- The black background helps you see what you are painting.
- Use a wood 2x4 to prop your screen at an angle for easy viewing.
You can also try using an old light-weight chair for an easel and place a black poster board behind the screen to see what you are painting.
- To prevent clogging the screen holes, it's best if the screen and paint brush do not contact the black backdrop.
Begin painting
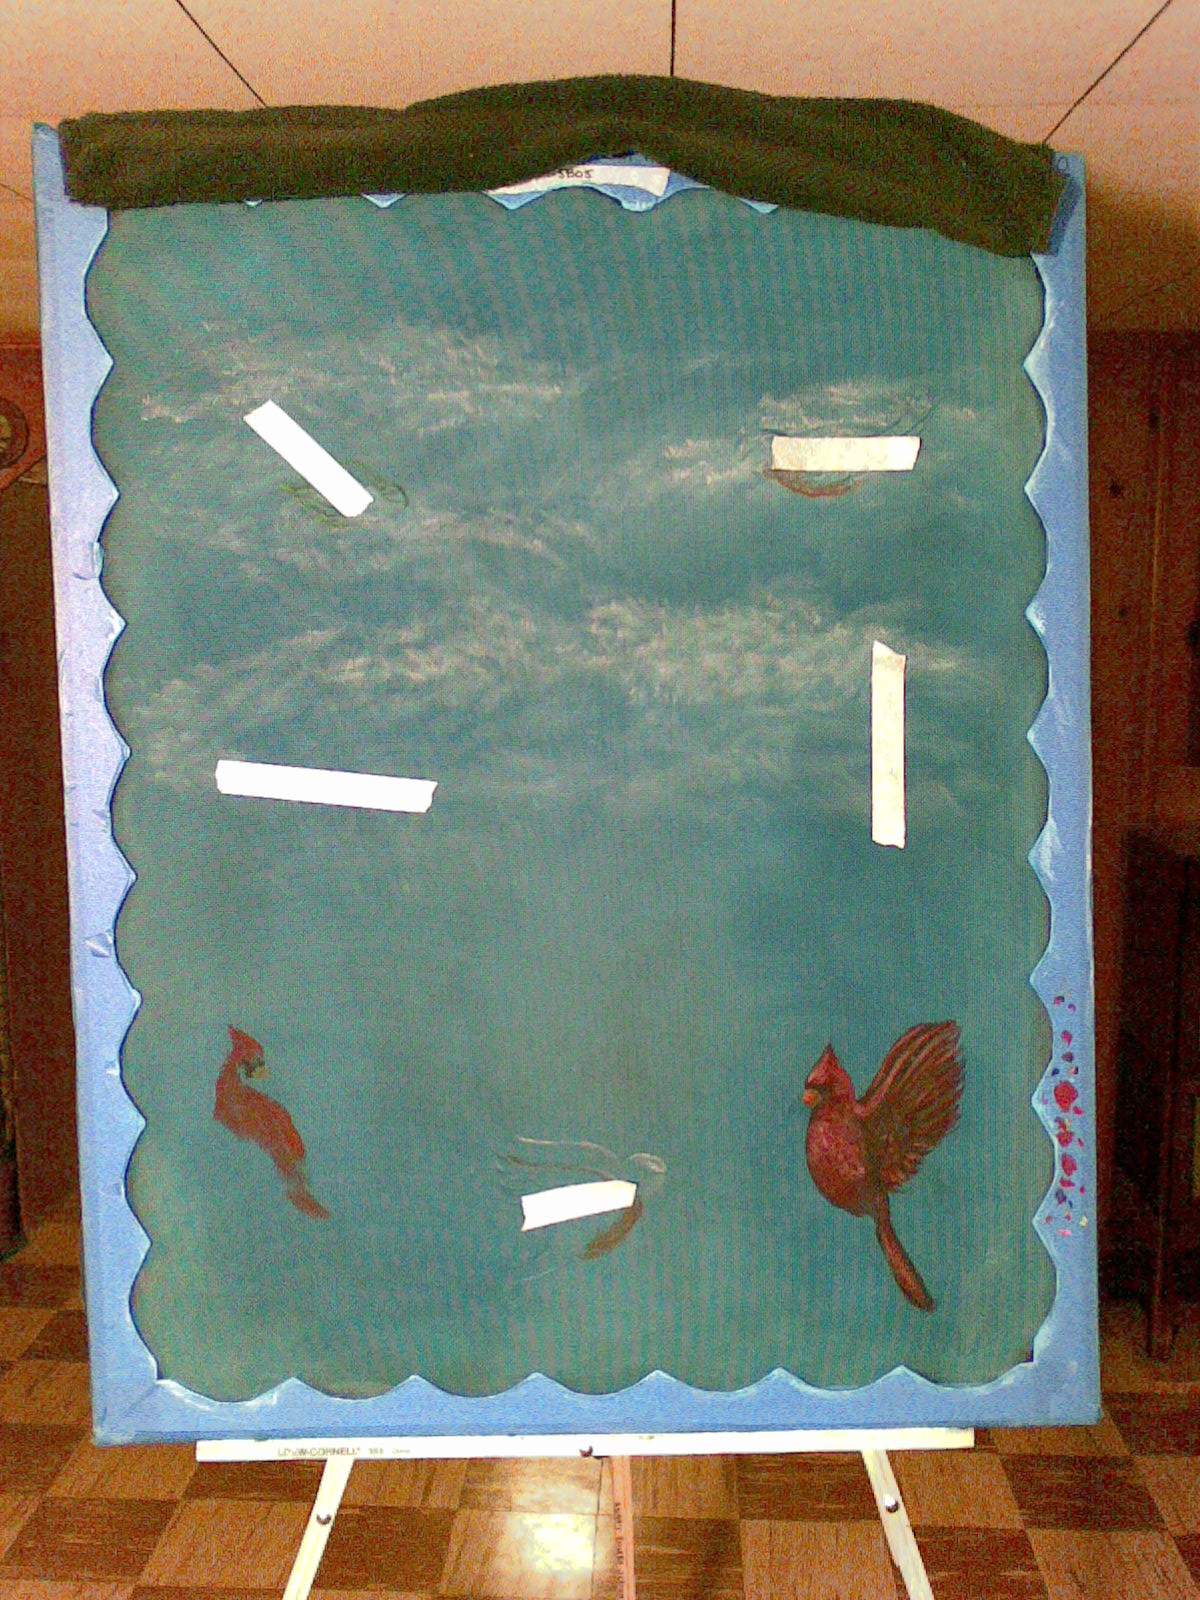
- Put a base coat on your screen. Use light blue (mix blue and white) or another pale pastel color mix that’s appropriate for your picture.
- Experiment with a drier stiffer brush.
- Try to apply thicker paint (not watered down) so you don’t clog the holes.
- To unclog the holes, blow a deep breath through the clogged holes while still wet.
- Use a toothpick or a straightened out paperclip to poke out any clogged holes, if necessary.
- Tap the entire screen sharply on the covered table to shake out the paint if too many holes get clogged.
- Blot excess paint from the back side of the screen mesh with a paper towel.
- Let the base coat dry.
- Mentally organize your design on the screen.
- Paint the sky and background first.
- Paint your way to the foreground.
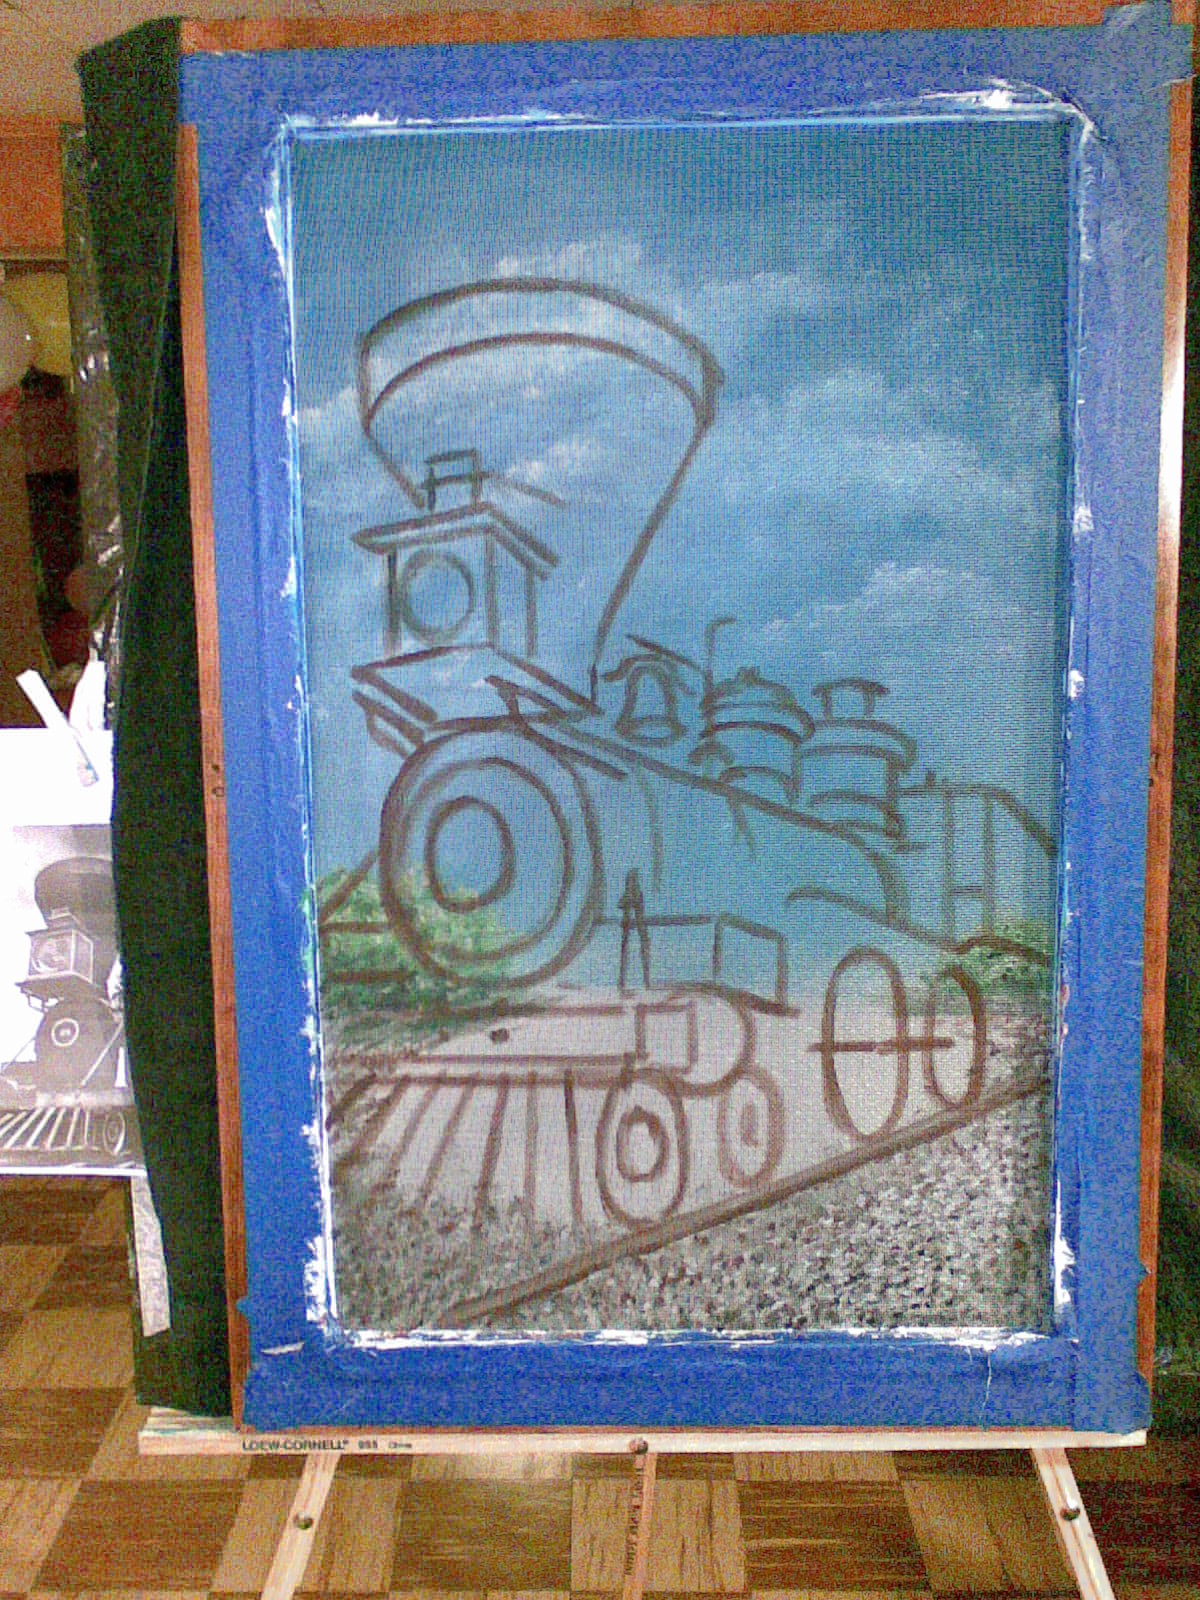
- Lightly paint the outline of your images.
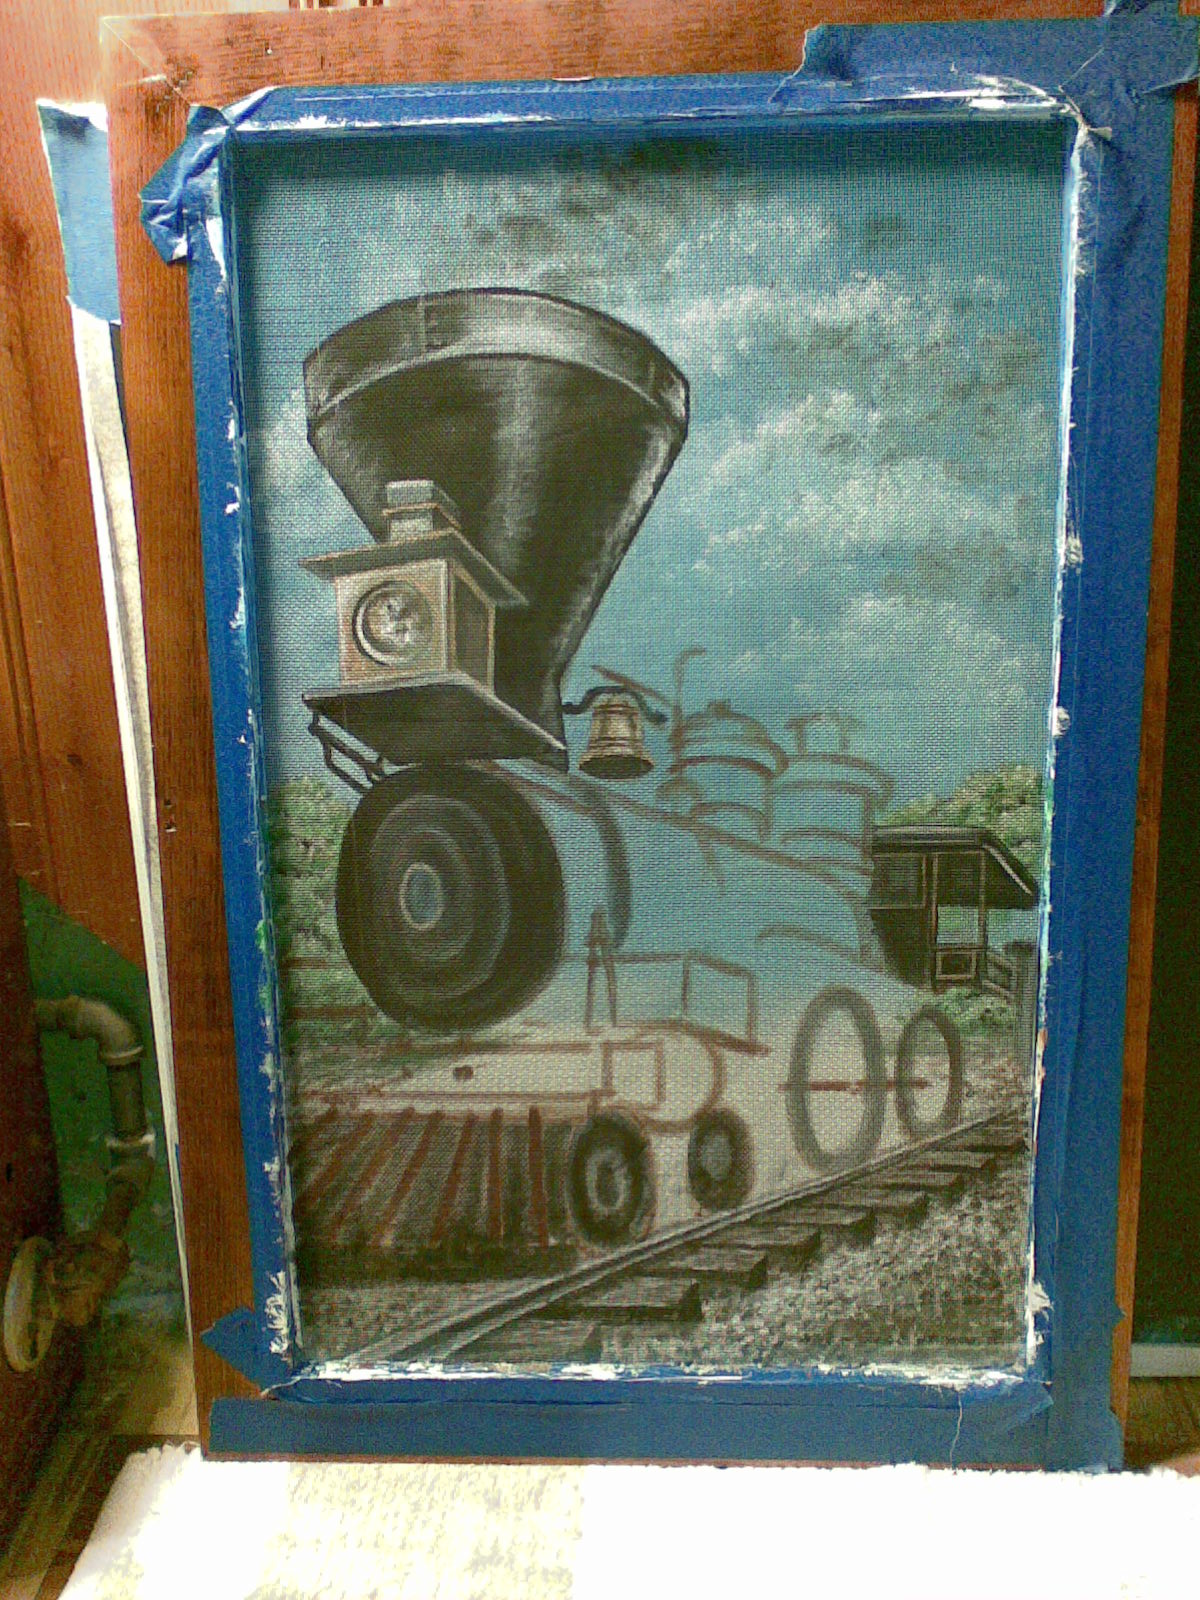
- Add the main subjects/objects after the background has dried.
- Paint main shapes first, overlay with added details, and finally add highlights last.
-
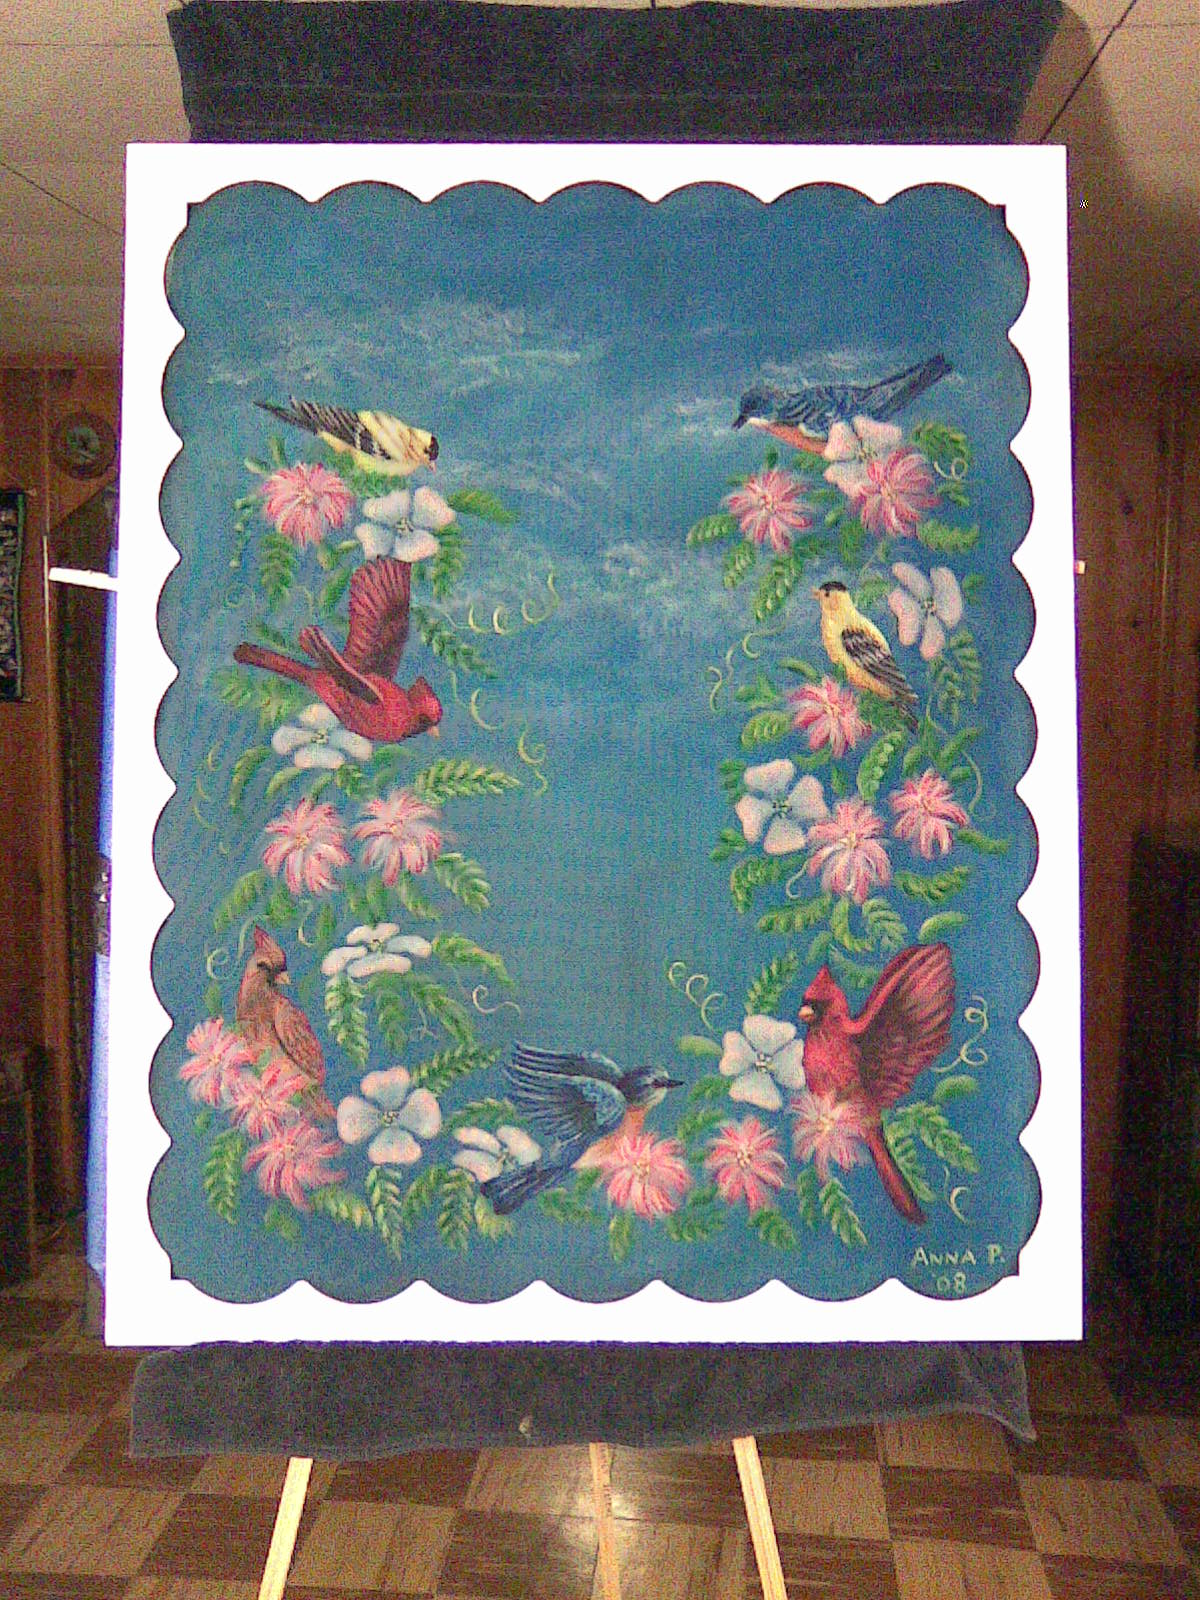
Add second and third coats for more vibrant colors & whiter whites.
- Let the finished painting fully dry completely.
Clear coat protectant
- Spray with an exterior non-yellowing acrylic clear coat protectant outdoors, in the fresh air.
- Allow to fully dry.
- Carefully peel off the tape.
Enjoy!
- Place your painted screen in your window, stand back, and watch people google and smile.
different stages of the screen painting process are pictured below
Bruce’s Supply Co.
Near
Phone: 410-859-0830
A great little hardware store to have your screens repaired
Law Brothers Hardware Store repairs screens too!
7229 B&A Blvd, Ferndale, Maryland
Phone: 410-766-1840